Our project
The purpose of this project is to provide users with a DIY candy experience. The design idea comes from combining our various ideas from brainstorming, including testing out new Arduino components, such as rotating disk, being able to design our own physical components, such as containers and store design, and making interactions fun and sweet for the users. Our proposed project is a smart and hippie candy shop that contains candy dispensers filled with different flavors of Nerds. The users include anyone who loves candy or just wants to bathe in candy. They will be able to customize their own candy product through a game-like experience.
FAQ
What board did you use?
-
The project is implemented using the Arduino Uno, a microcontroller board. It is available here: https://www.arduino.cc/en/Main/ArduinoBoardUno
What kind of components did you use?
-
Photocell sensor, piezo buzzer, RGB LED, relay, DC motor, force sensor, micro servos, continous rotation servo, pushbuttons, Xbee, LCD display, an I2C mount for the LCD, some resistors, and tons of wires.
What softwares did you use?
-
For the code, we used the coding software that Arduino provides called Arduino. It uses C/C++.
-
For the breadboard layout, we used Fritzing, which allows us to document our project.
-
For designs and laser cutting, we used Adobe Illustrator and Universal Laser Systems.
-
For 3D modeling, we used Fusion 360 and free downloadable open-source files online.
Sketch
#include <Servo.h>
#include <SmartCityNodeLib.h>
#include <Adafruit_LiquidCrystal.h>
Servo rotor;
Servo dispenser1;
Servo dispenser2;
Servo dispenser3;
Servo dispenser4;
Adafruit_LiquidCrystal lcd(0);
SmartCityNode node;
const int bladePin = 4;
const int buzzerPin = 7;
const int ledRedPin = 5;
const int ledGreenPin = 6;
const int ledBluePin = 8;
const int pressureSensorPin = A1;
const int lightSensorPin = A0;
const int advanceButtonPin = 13;
const int dispenseButtonPin = 12;
bool lastPressureSensorState = false;
long lastTime;
int gasTimer = 0;
int fireTimer = 0;
int zombieTimer = 0;
int apocalypseTimer = 0;
int sale = 0;
void setup() {
node.begin(SmartCityNode::BUSINESS, "YAS! Candy");
lcd.begin(16, 2);
lcd.setBacklight(HIGH);
lcd.print("SALE: $0.00");
lcd.setCursor(0, 1);
lcd.print("ALL IS WELL");
rotor.attach(9);
dispenser1.attach(0);
dispenser2.attach(1);
dispenser3.attach(10);
dispenser4.attach(11);
pinMode(bladePin, OUTPUT);
pinMode(ledRedPin, OUTPUT);
pinMode(ledGreenPin, OUTPUT);
pinMode(ledBluePin, OUTPUT);
pinMode(buzzerPin, OUTPUT);
pinMode(advanceButtonPin, INPUT_PULLUP);
pinMode(dispenseButtonPin, INPUT_PULLUP);
lastTime = millis();
}
void loop() {
int curTime = millis();
int interval = curTime - lastTime;
lastTime = curTime;
lcd.setCursor(0, 0);
lcd.print("SALE: $");
lcd.print(sale / 100);
lcd.print(".");
int cents = sale - ((sale / 100) * 100);
if (cents < 10) {
lcd.print("0");
}
lcd.print(cents);
if (analogRead(lightSensorPin) < 40 && fireTimer < 0 && apocalypseTimer < 0) { // don't override the fire warning
digitalWrite(ledRedPin, LOW); // common anode, low means on
digitalWrite(ledRedPin, LOW);
digitalWrite(ledRedPin, LOW);
}
else if (fireTimer < 0 && apocalypseTimer < 0) {
digitalWrite(ledRedPin, HIGH);
digitalWrite(ledRedPin, HIGH);
digitalWrite(ledRedPin, HIGH);
}
bool pressure = analogRead(pressureSensorPin) < 800;
if (lastPressureSensorState && !pressure && apocalypseTimer < 0 && gasTimer < 0) { // don't override the warnings
tone(buzzerPin, 1200, 500);
}
if (!lastPressureSensorState && pressure && apocalypseTimer < 0 && gasTimer < 0) {
tone(buzzerPin, 800, 1000);
}
lastPressureSensorState = pressure;
if (digitalRead(advanceButtonPin) == LOW) {
rotor.write(93);
digitalWrite(bladePin, HIGH);
}
else {
rotor.write(90);
digitalWrite(bladePin, LOW);
}
if (digitalRead(dispenseButtonPin) == LOW) {
dispenser1.write(90);
dispenser2.write(90);
dispenser3.write(90);
dispenser4.write(90);
sale++; // really expensive candy
}
else {
dispenser1.write(180);
dispenser2.write(180);
dispenser3.write(180);
dispenser4.write(180);
}
if (gasTimer > 0 && gasTimer - interval < 0) { // deactivate the gas functions
noTone(buzzerPin);
}
if (zombieTimer > 0 && zombieTimer - interval < 0) {
digitalWrite(bladePin, LOW);
}
if (fireTimer > 0 && fireTimer - interval < 0) {
digitalWrite(ledRedPin, HIGH);
digitalWrite(ledGreenPin, HIGH);
digitalWrite(ledBluePin, HIGH);
}
if (apocalypseTimer > 0 && apocalypseTimer - interval < 0) {
noTone(buzzerPin);
digitalWrite(bladePin, LOW);
digitalWrite(ledRedPin, HIGH);
digitalWrite(ledGreenPin, HIGH);
digitalWrite(ledBluePin, HIGH);
lcd.setCursor(0, 1);
lcd.print("ALL IS WELL");
}
gasTimer -= interval;
fireTimer -= interval;
zombieTimer -= interval;
apocalypseTimer -= interval;
int alert = node.alertReceived();
if (alert == SmartCityNode::GAS) {
gasTimer = 5000; // set the timer
// activate the alert functions
tone(buzzerPin, 2200);
}
if (alert == SmartCityNode::FIRE) {
fireTimer = 5000;
digitalWrite(ledRedPin, LOW);
digitalWrite(ledRedPin, HIGH);
digitalWrite(ledRedPin, HIGH);
}
if (alert == SmartCityNode::ZOMBIE) {
zombieTimer = 5000;
digitalWrite(bladePin, HIGH);
}
if (alert == SmartCityNode::APOCALYPSE) {
apocalypseTimer = 5000;
tone(buzzerPin, 2200);
digitalWrite(ledRedPin, LOW);
digitalWrite(ledRedPin, HIGH);
digitalWrite(ledRedPin, HIGH);
digitalWrite(bladePin, HIGH);
lcd.setCursor(0, 1);
lcd.print("APOCALYPSE!!");
}
}

Breadboard Layout
This is the final breadboard layout of our project, which was made with Fritzing, a open-source software used for documenting prototypes. You can download it for free at http://fritzing.org/home/.
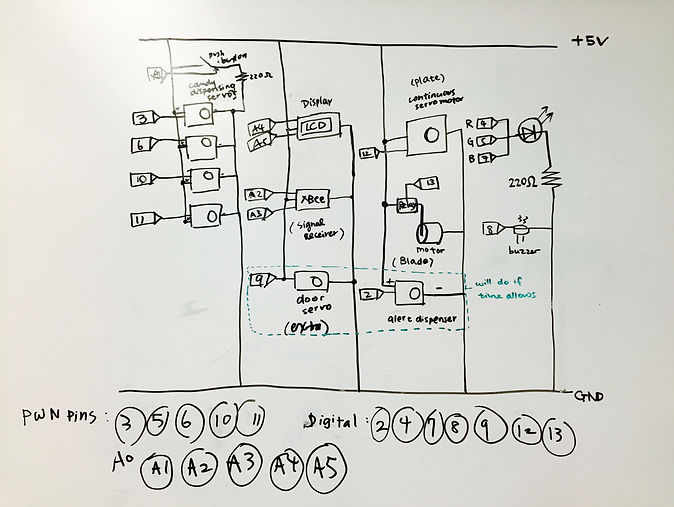
Systems Diagram
This is the initial systems diagram proposal at the start of the project, drawn on a whiteboard.
Implementation
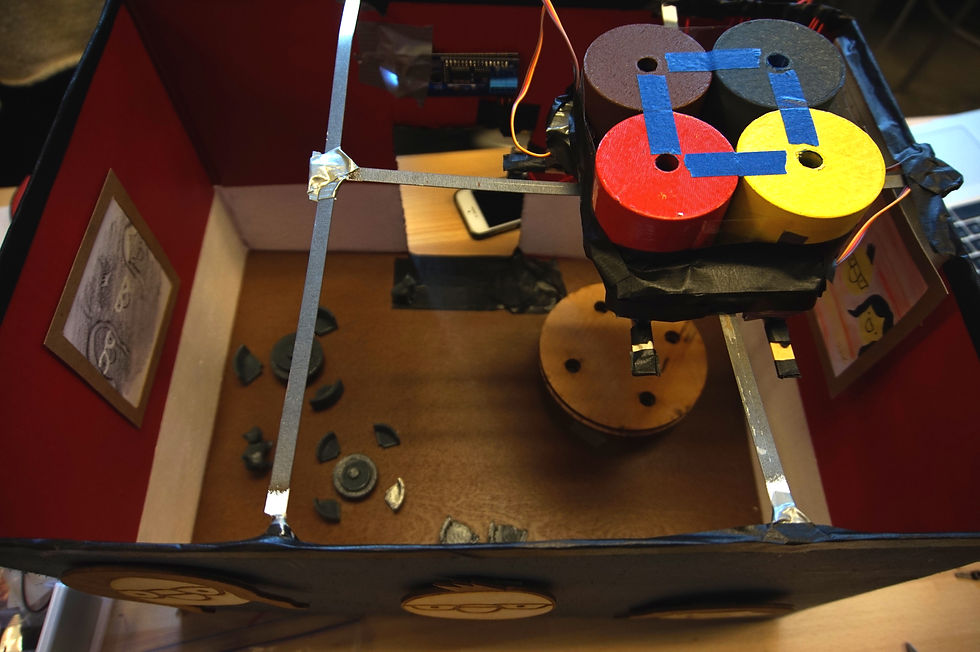
Our project contains several actuators and sensors that completes the interactive behavior of our smart candy shop design.
Actuators
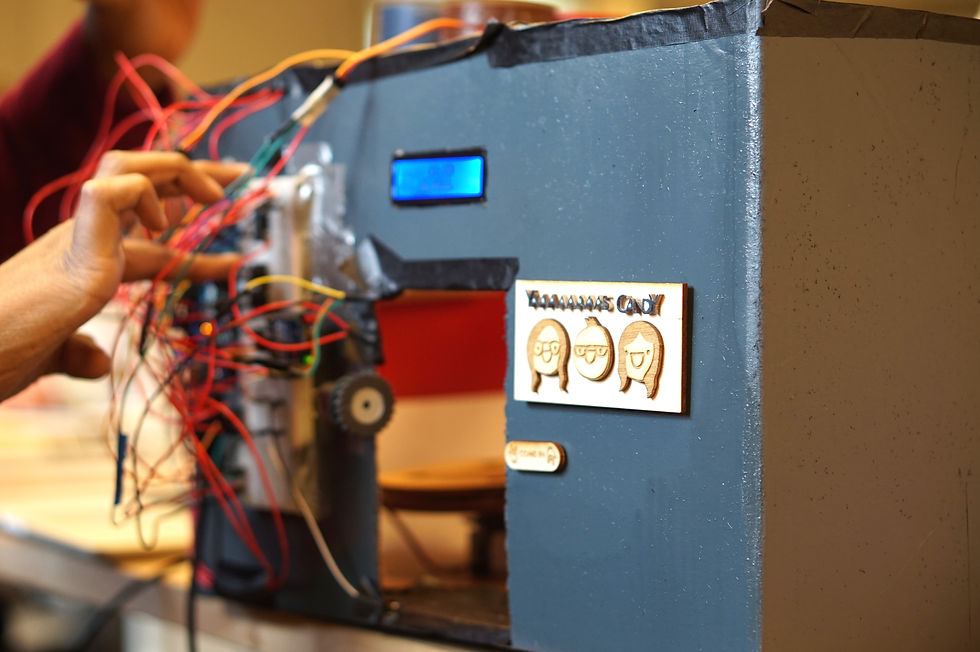
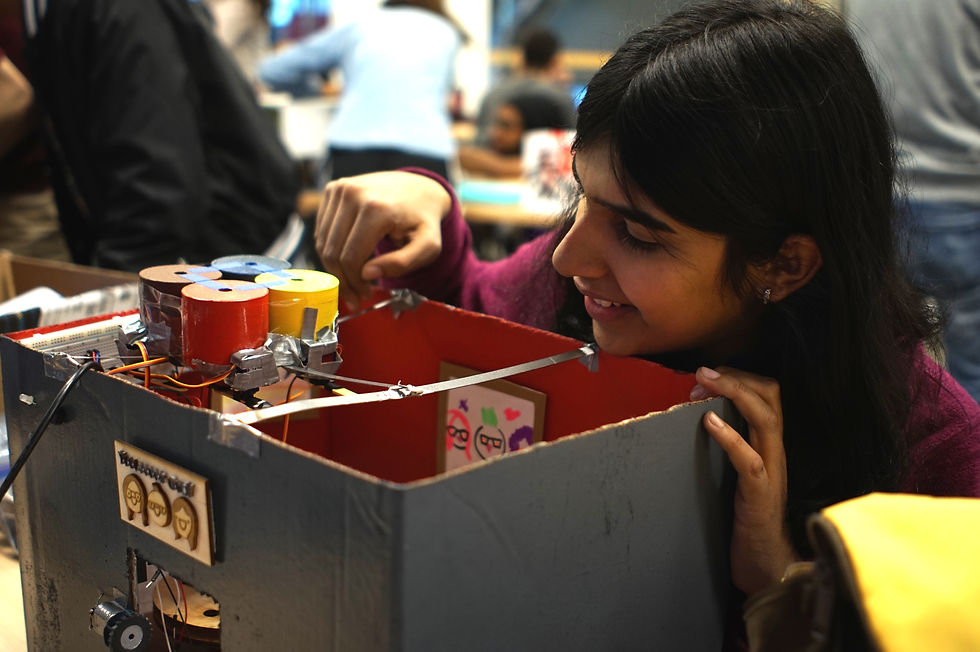
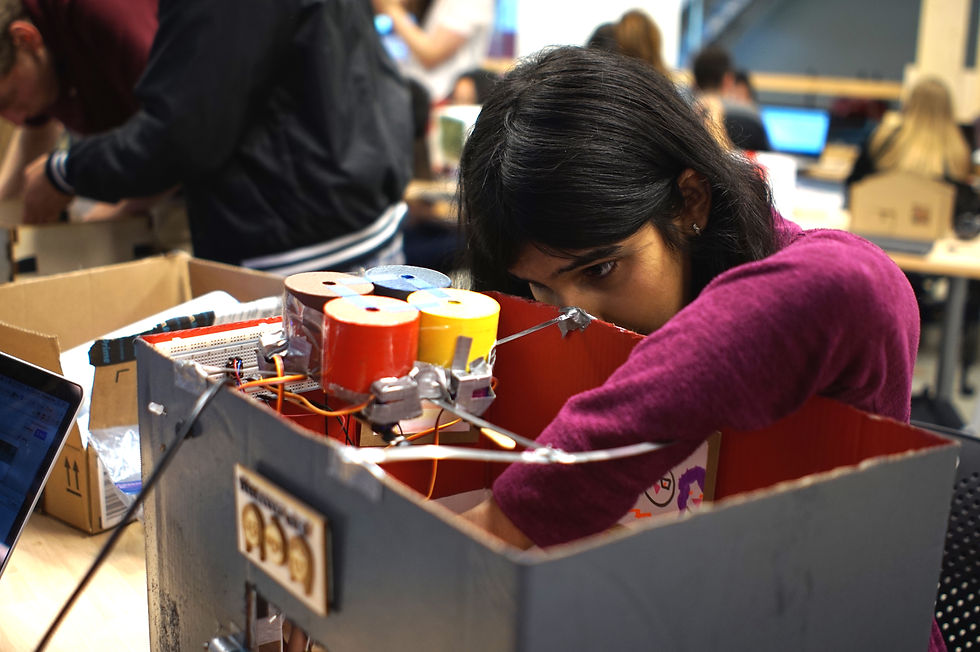
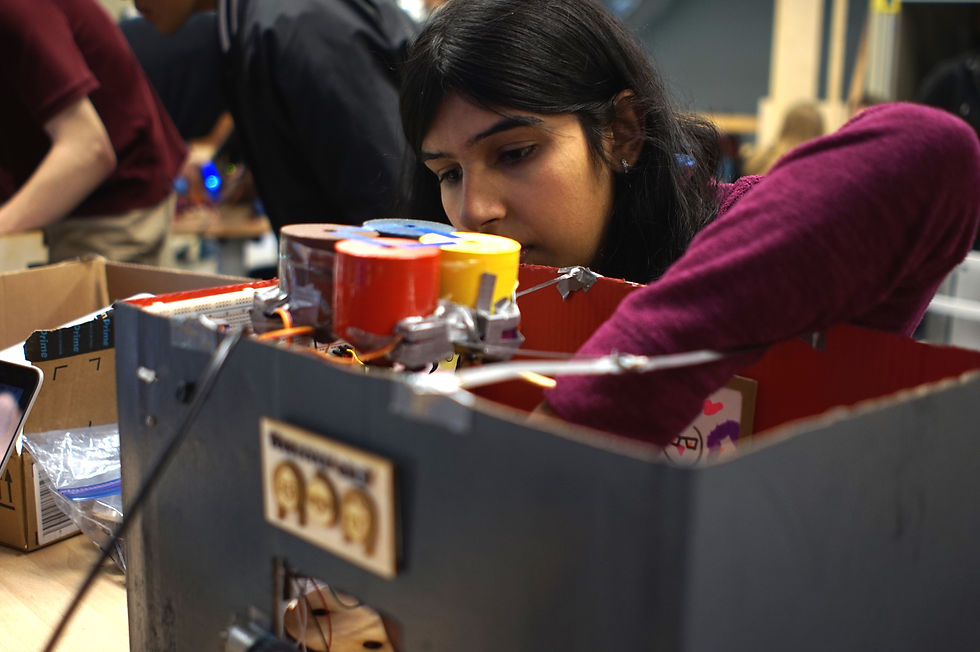
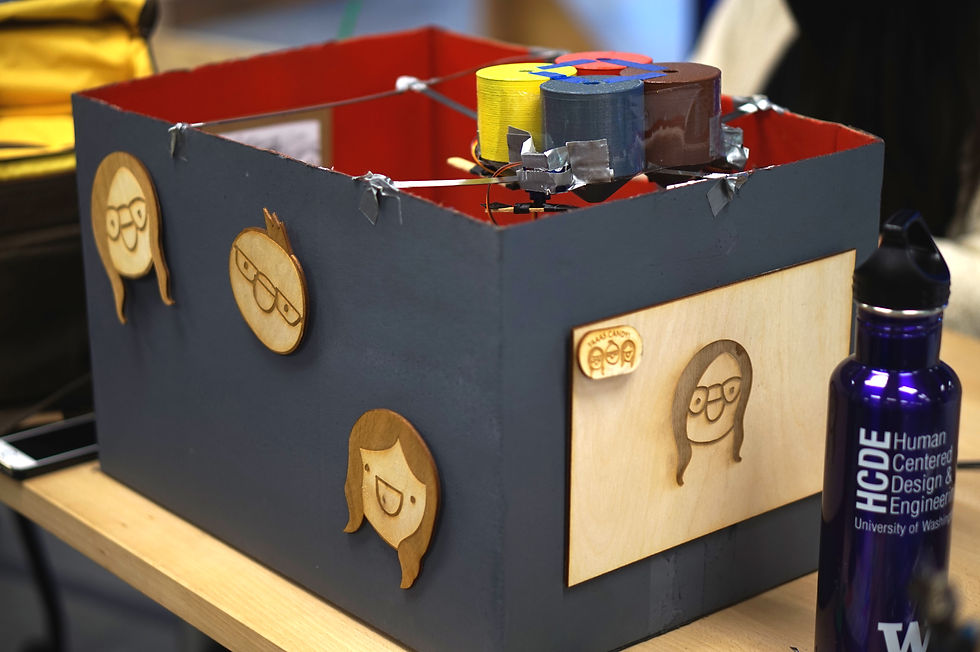
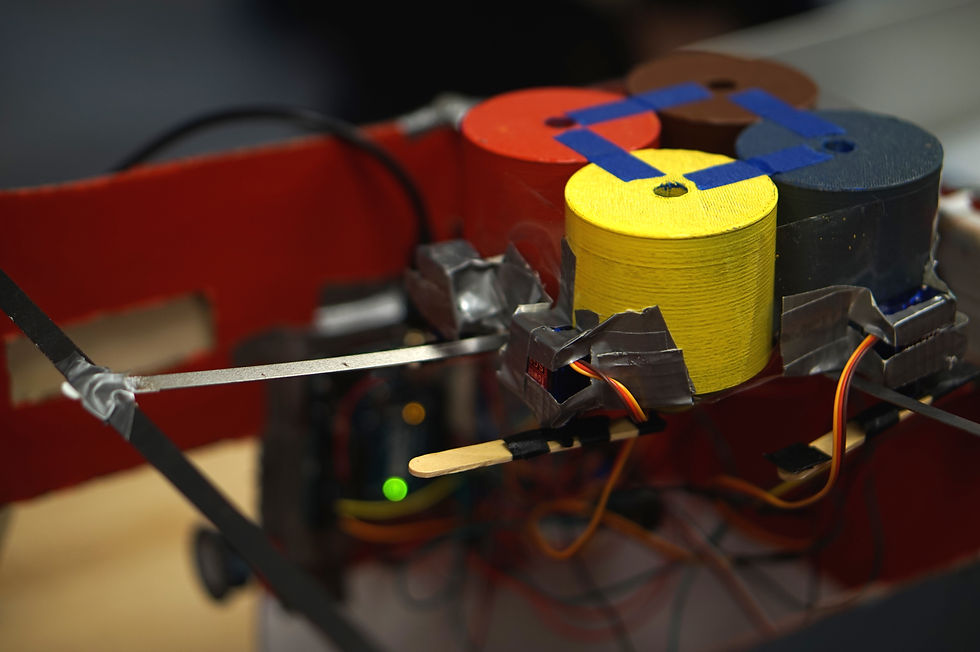
A rotating disk will be placed under the containers, which will be made with a continuous servo motor. The users can press and hold the rotate button to rotate the disk in order to collect the falling candy. When the user holds down the rotate button, the plate starts rotating, and when the user releases the button, the plate stops. When the dispense button is pressed, all four dispensers start dispensing candy. The arms of micro servos are used as a lid for the containers that were 3D printed. When the dispense button is pressed, all the arms of the micro servos rotate, allowing candy to fall out freely from the container. On the outside, the LCD displays the current price as well as a customized message. Right by the door, there is a blade made with a DC motor and relay that "kills" zombies when alerts go off.
Sensors
Our first sensor input is the photocell sensor, which will turn the RGB light white if it is dark outside. The other sensor input is the force sensor, which will be located at the door. When a person enters the room and triggers the force sensor, the buzzer will make sounds like a doorbell.
Alerts
Our system will react to the following alerts sent from the Smart City Gateway (provided by instructor):
-
Zombie Alert - blade rotates
-
Fire Alert - RGB light turns red
-
Gas Alert - buzzer sounds
-
Apocalypse Alert - All the above, and the LCD displays “APOCALYPSE!!”
Process, Problems, Successes, Learnings
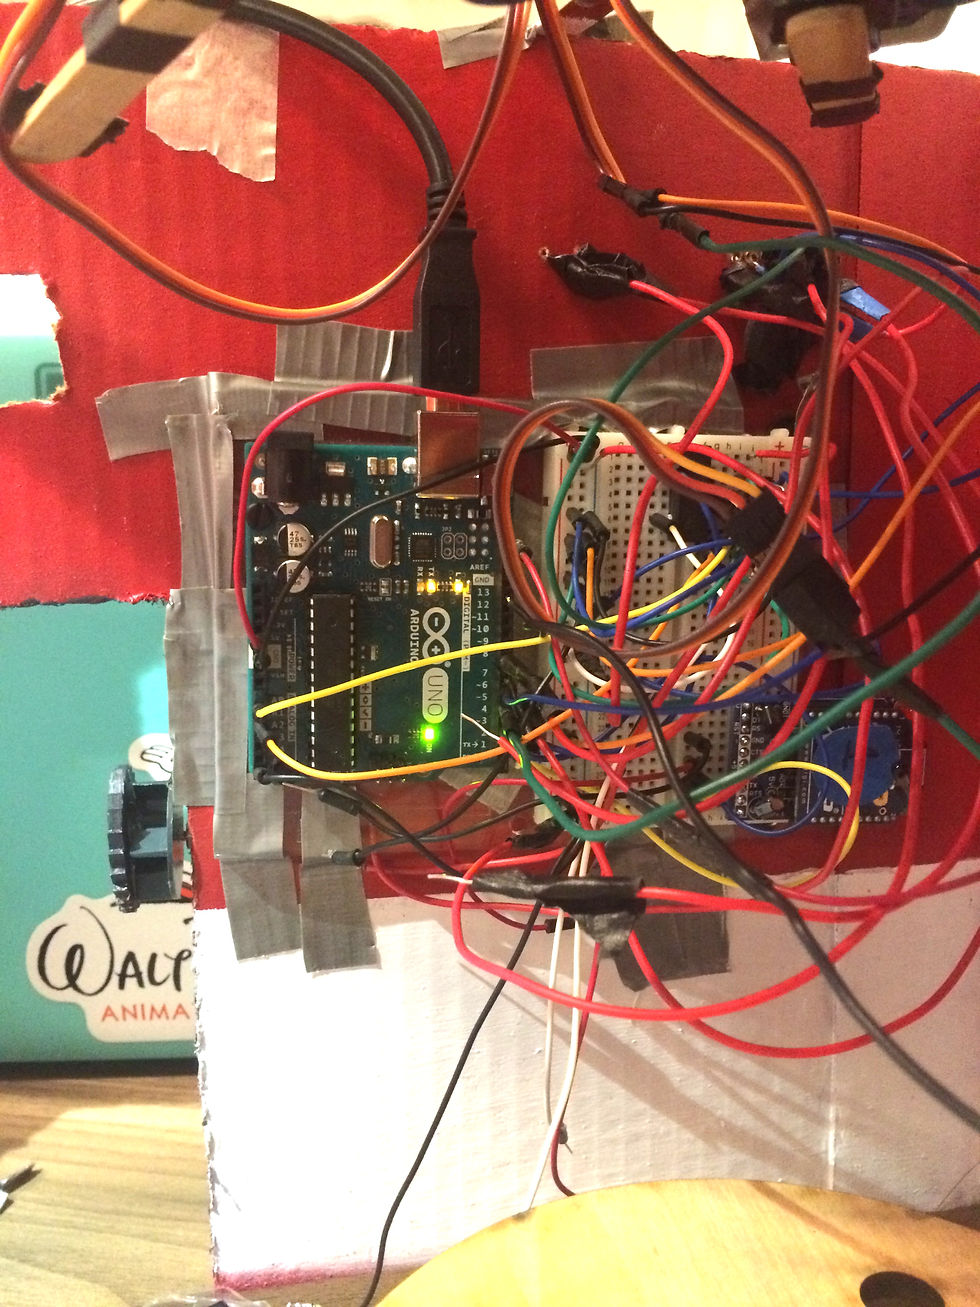
The project, at the end, came out very successful. However, to achieve that success, the team as a whole overcame many obstacles. First of all, the planning of the entire project was not very organized from the beginning. The team worked on tasks individually. We realized in the end that we should have worked together more or even just be in the same physical space. Initially, we ideated on the physical components of the project, such as the walls, decor, containers, and then distributed tasks to everyone. Because we were so focused on these, we started working on the hardware too late in the quarter. It ended up that the hardware did not quite work well the first time. We realized that the figuring out what goes in what pins and installing unfamiliar hardware, such as the relay for the motor, was confusing to figure out.
For the building itself, we initially planned to use laser cutting with boxy, lego-like edges, but the pieces of wall did not piece together as well as planned. Through many testing laser cut-out pieces, we printed over five iterations of the walls, but it never fit together perfectly. In the end, for our last resort, we decided to use a cardboard box. We cut it, spray painted it, and made it look presentable. Surprisingly, the building turned out fairly nice.
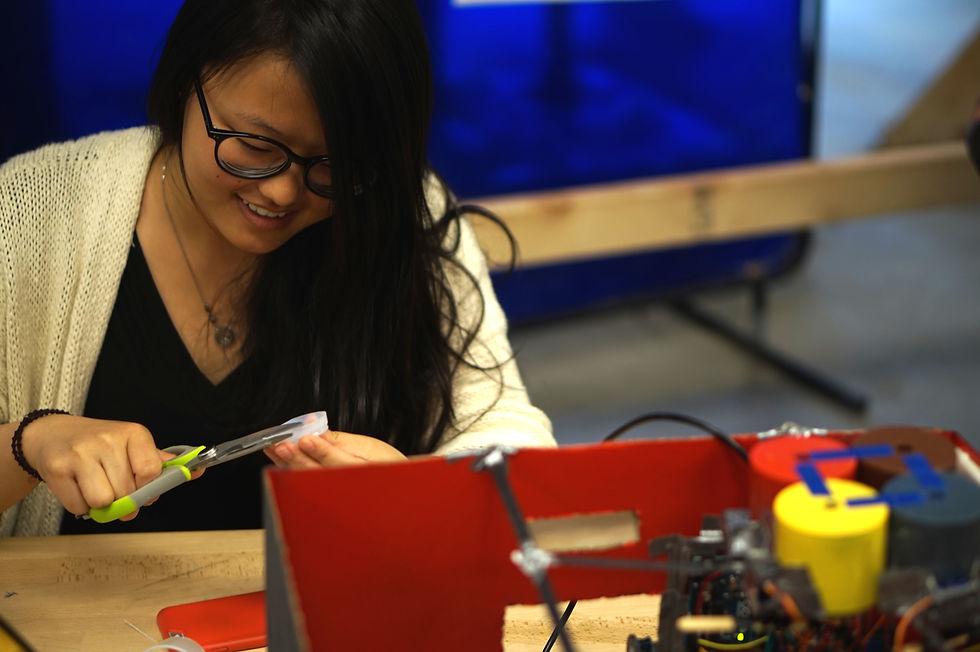
Apart from the connecting the hardware and making the building, assembling the physical components and attaching the hardware to the actual building was also very time consuming. At first, we attached the arduino to the inside walls of the building. However, it was very hard to troubleshoot. At last, we moved the arduino to the outside. We reconnected the circuits a total of three times. It definitely was very tricky to integrate the circuit with the actual physical building because there are too many wires and different wire lengths. For example, when making the components that prevents the candy from falling out of the containers, it was hard to attach the servos at the exact place on the containers. Also, the dispensing process itself is tricky because candy gets stuck in the containers. Additionally, whenever we move the building, there were occasional loose connections that made it difficult to keep the hardware operating correctly. Next time, we would use wires that are easier to manage (like solid core wire laying flat on the breadboard) to solve many of these problems. However, we were very happy about how it turned out and it was a great team experience that was very fulfilling. Go Team!
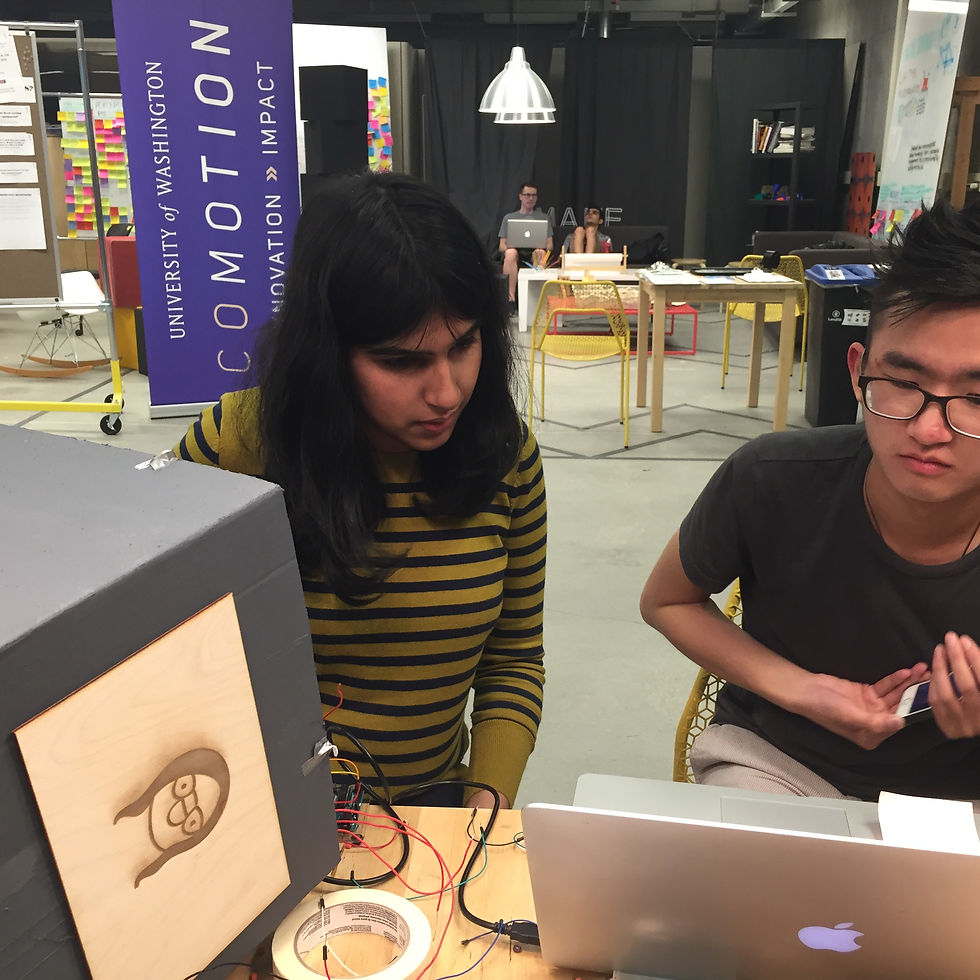
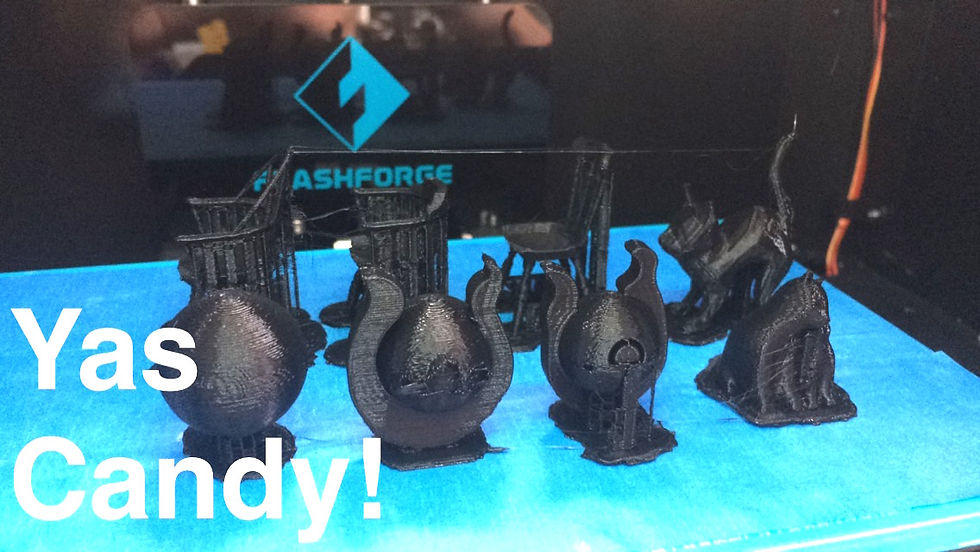
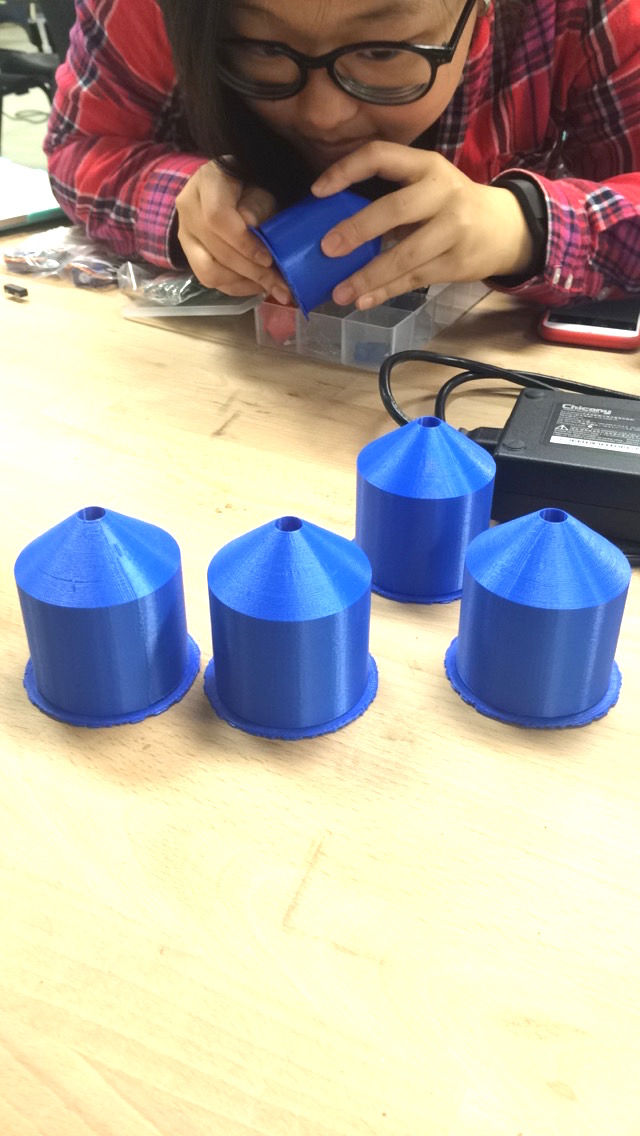
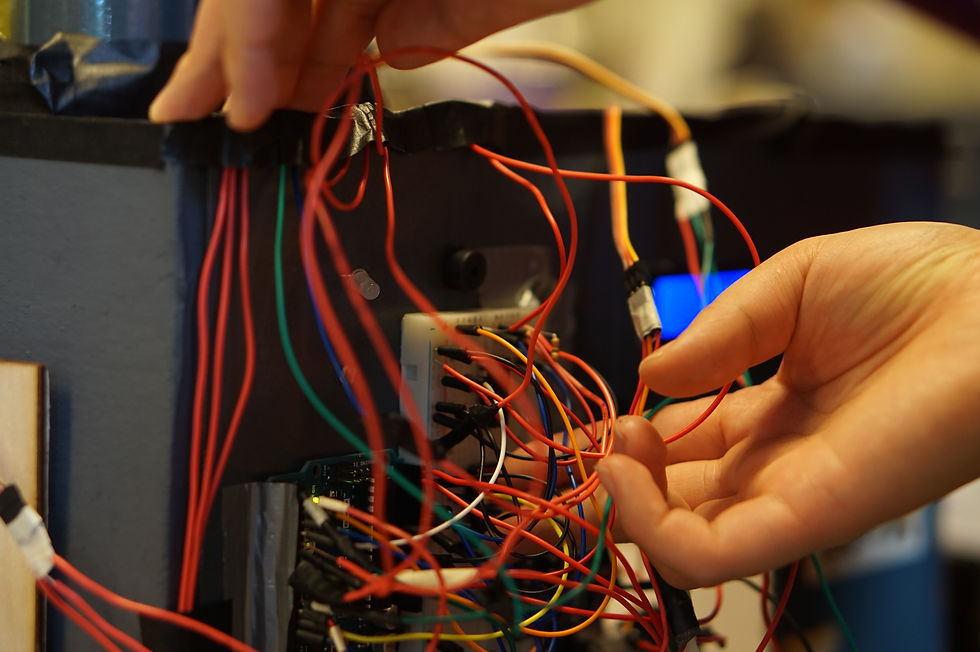
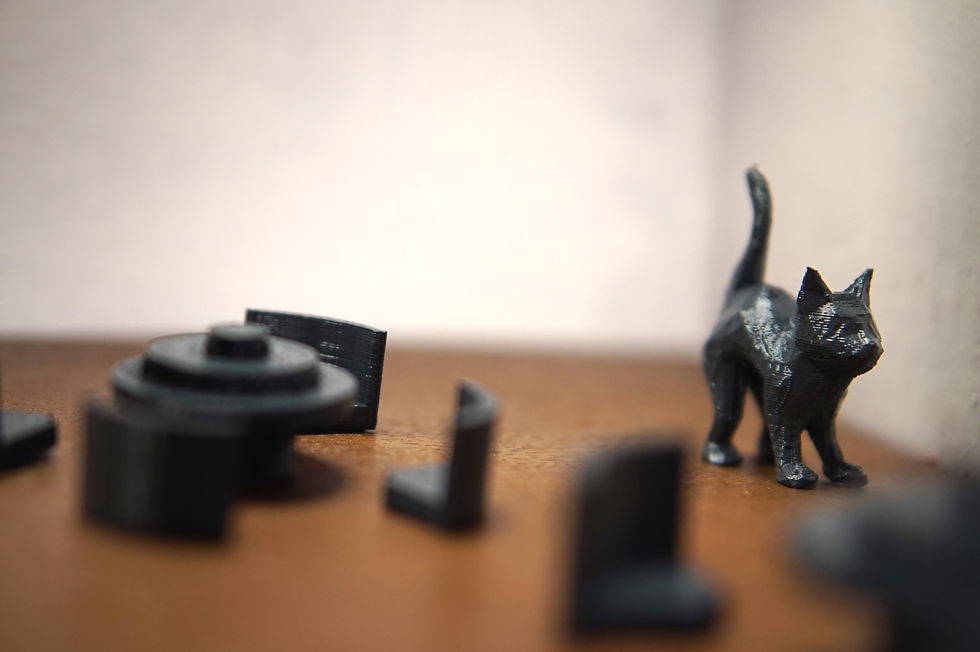
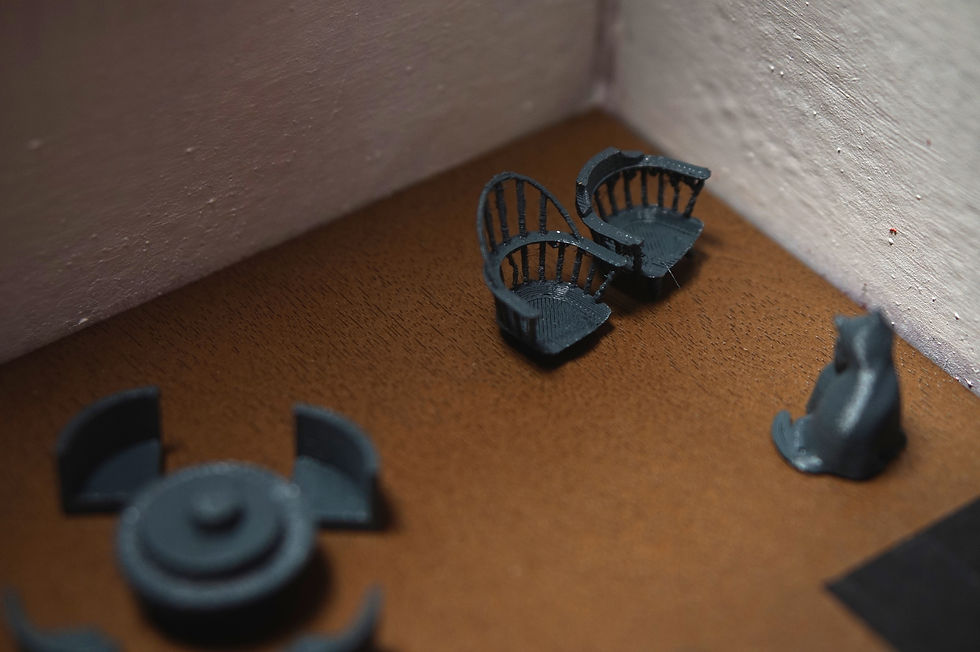
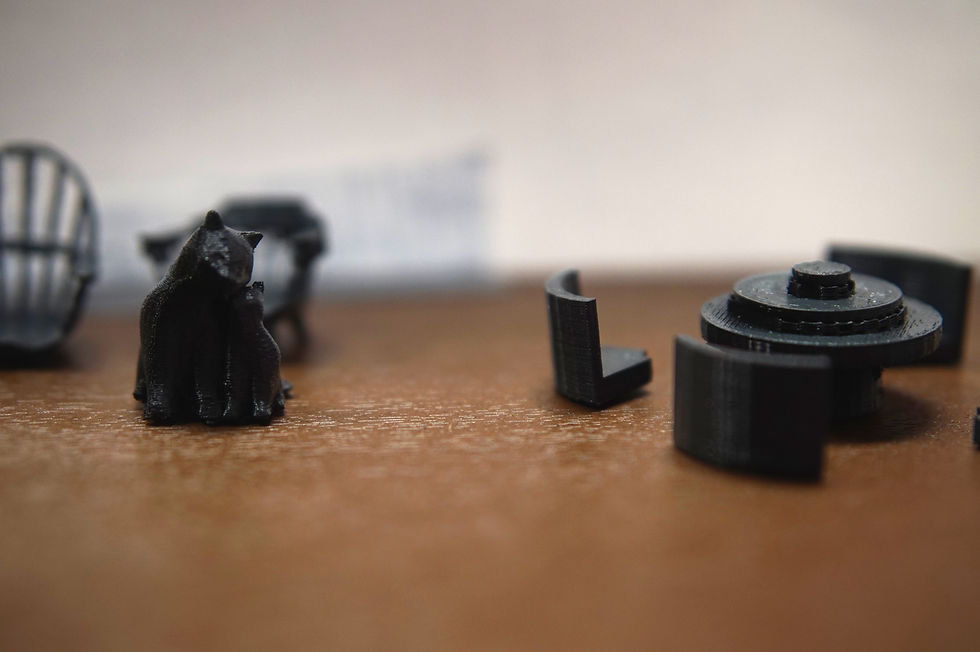
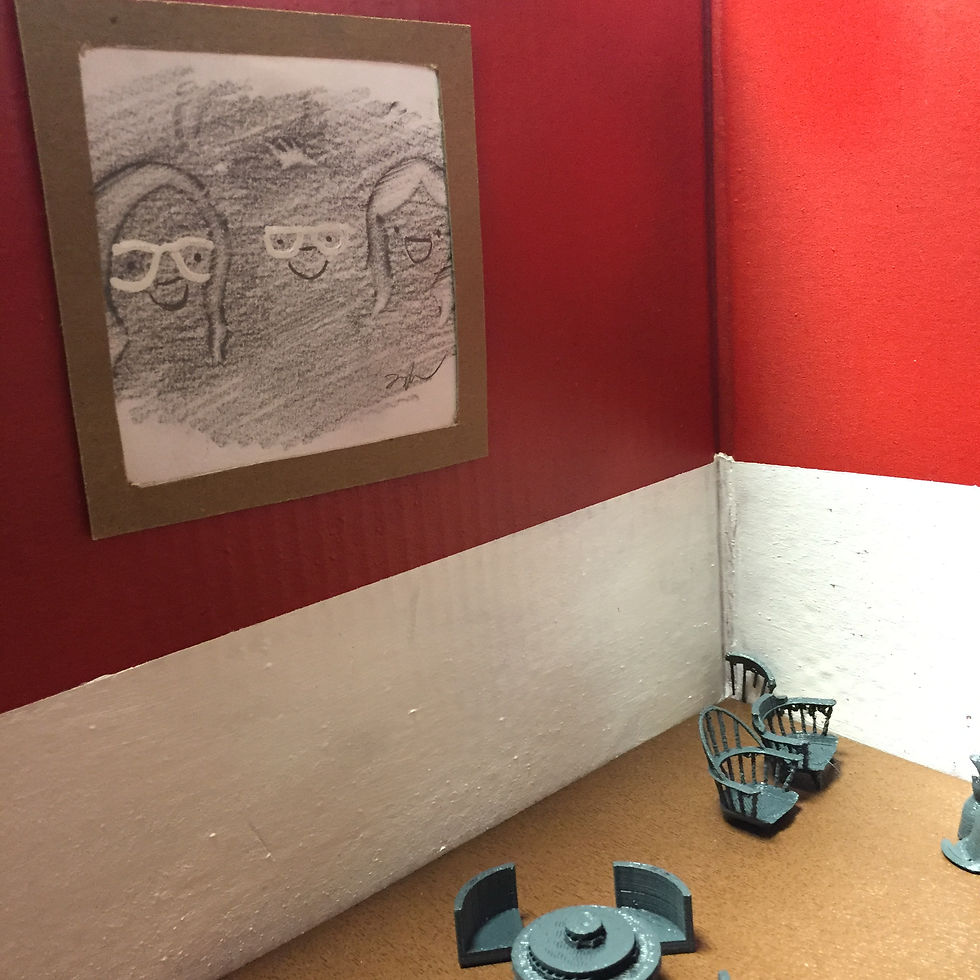
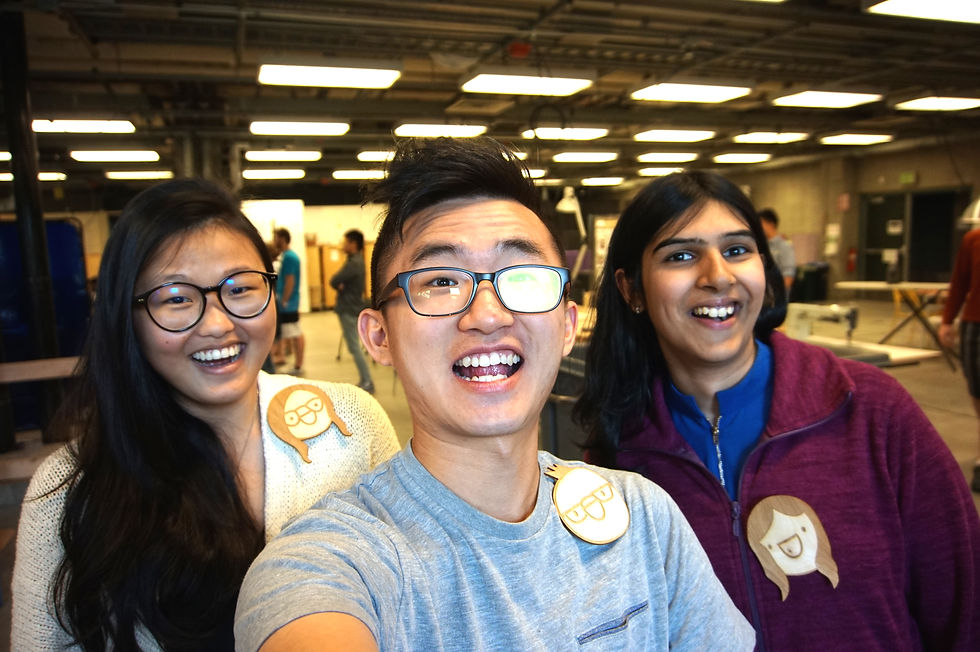
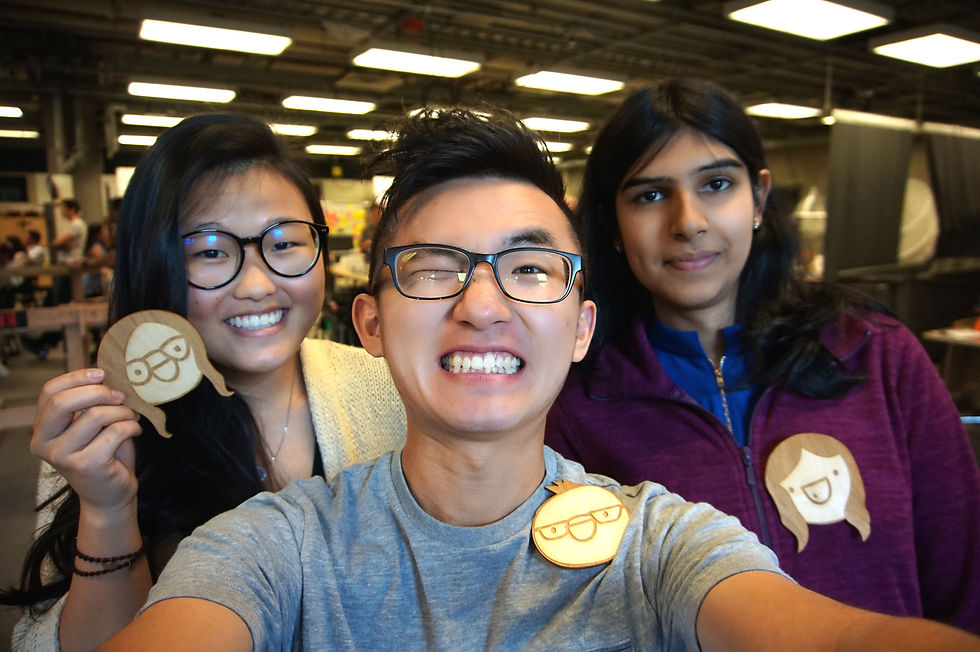
Gallery
Look at the all things we've done and closeups of the final project!


 |  |  |  |
|---|---|---|---|
 |  |  |  |
 |